Creating Adjustments
Follow these steps to create a new adjustment transaction:
-
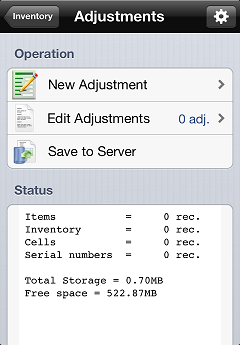
On the main menu, tap Inventory, and then tap Adjustments to display the
 Adjustments menu.
 -
Tap New Adjustment to display the New Adjustment screen.
-
If you are using an iPhone or iPod Touch with a CPMobile sled or a Socket Mobile Barcode Scanner, scan an item's barcode to create an adjustment for the item.
If the Scan = Qty 1 setting on the Options screen is ON, the adjustment is added with a quantity of 1. Each time you scan an item, the adjustment quantity for the item is increased by 1.
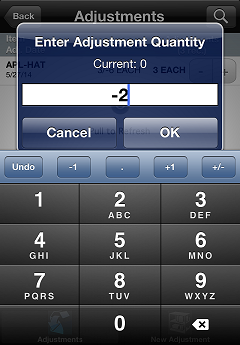
If the Scan = Qty 1 setting is OFF, you are ![]() prompted to specify the quantity for the adjustment. Enter the quantity for the adjustment and tap OK. If an adjustment already exists for the item, the quantity you enter is added to the adjustment quantity for the item.
prompted to specify the quantity for the adjustment. Enter the quantity for the adjustment and tap OK. If an adjustment already exists for the item, the quantity you enter is added to the adjustment quantity for the item.
![]() If the item you are adjusting is gridded or serialized, you will be prompted to provide additional information when you scan the item's barcode.
If the item you are adjusting is gridded or serialized, you will be prompted to provide additional information when you scan the item's barcode.
- or -
Tap the Search bar (or the ![]() button) and look up the item you want to adjust.
button) and look up the item you want to adjust.
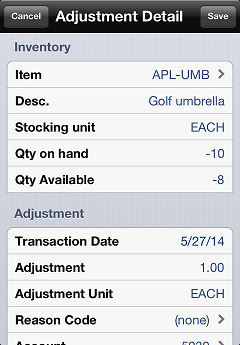
When you find the item you want to adjust, tap the ![]() icon next to the item to display the
icon next to the item to display the ![]() Adjustment Detail screen, which displays detailed information about the item you are adjusting.
Adjustment Detail screen, which displays detailed information about the item you are adjusting.
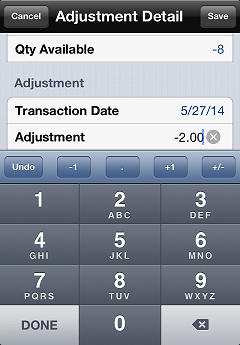
To specify the quantity for the adjustment, tap the ![]() Adjustment field, enter the quantity, and then tap Save.
Adjustment field, enter the quantity, and then tap Save.
![]() If the item you are adjusting is gridded or serialized, you will be prompted to provide additional information when you tap the Adjustment field.
If the item you are adjusting is gridded or serialized, you will be prompted to provide additional information when you tap the Adjustment field.
When you create an adjustment, it appears on the ![]() Adjustments screen, along with the other pending adjustments.
Adjustments screen, along with the other pending adjustments.
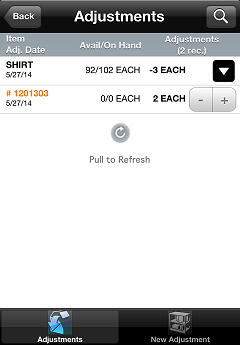
If an item you scanned is not in your CPMobile device's cache, the barcode appears on the Adjustments screen in orange to indicate that it was not found. Pull down the screen to attempt to connect to your Counterpoint server and resolve any unknown items on the Adjustments screen.