Adding a New Customer
If
![]() You can create a new customer record only If your store is configured to allow customers to be added "on the fly."
You can create a new customer record only If your store is configured to allow customers to be added "on the fly."
Tap the link for the
 iPhone/iPod Touch
Follow these steps to create a new customer record in CPMobile Point of Sale:
-
Tap
 on the Ticket screen.
 -
On the
Customer
-
Tap New customer to display the
New customer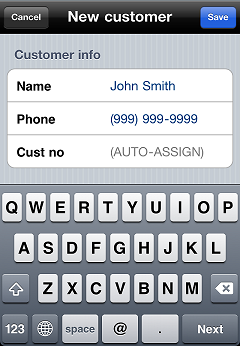
-
Enter the customer's Name and Phone number.
-
Tap Cust no and enter a customer number.
![]() Leave the Cust no field blank to auto-assign the next available customer number to the customer.
Leave the Cust no field blank to auto-assign the next available customer number to the customer.
-
Tap Enter e-mail and enter the customer's e-mail address.
-
If you are using CustomerConnect and the customer wants to receive CustomerConnect messages, tap the Opt-out of marketing on/off switch to turn the setting OFF.
-
Tap Category to display the Categories screen, and then tap the category to assign to the customer.
-
Tap the Save button to save the new customer record and assign the customer to the ticket.
iPad
Follow these steps to create a new customer record in
-
In the Customer panel of the
Mobile Point of Sale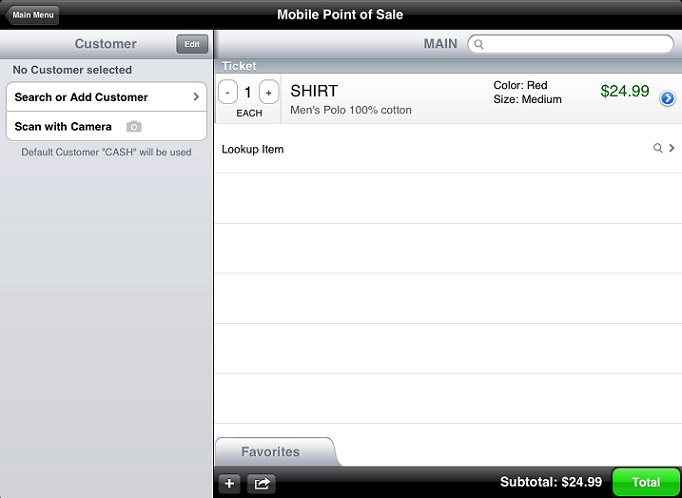
![]() If you are using your iPad in portrait orientation, tap the Lock button to display the Customer panel.
If you are using your iPad in portrait orientation, tap the Lock button to display the Customer panel.
-
Tap New customer to display the New customer panel.
-
Enter the customer's Name and Phone number.
-
Tap Cust no and enter a customer number.
![]() Leave the Cust no field blank to auto-assign the next available customer number to the customer.
Leave the Cust no field blank to auto-assign the next available customer number to the customer.
-
Tap Enter e-mail and enter the customer's e-mail address.
-
If you are using CustomerConnect and the customer wants to receive CustomerConnect messages, tap the Opt-out of marketing on/off switch to turn the setting OFF.
-
Tap Category to display the Categories panel, and then tap the category to assign to the customer.
-
Tap the Save button to save the new customer record and assign the customer to the ticket.